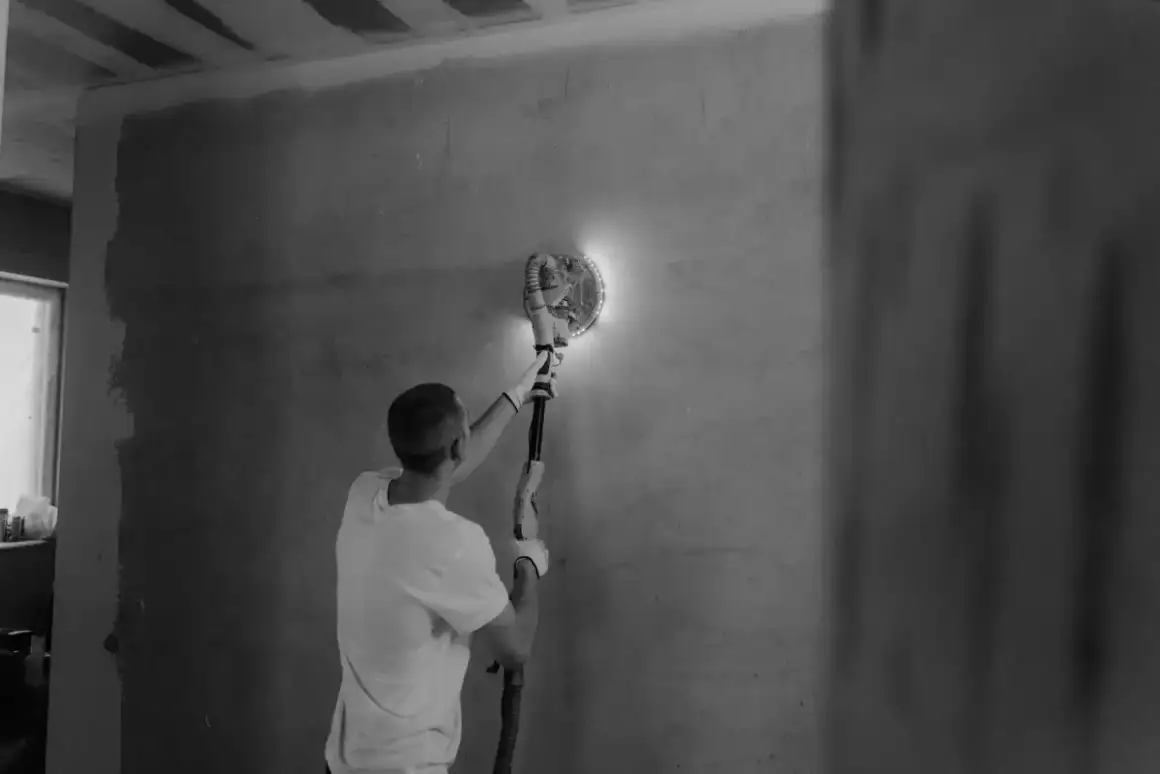
Drywall Finishing in Madison, WI — Residential & Commercial Drywall Finishing Specialists
Paint-ready surfaces across Madison and Dane County, finished to the level each room genuinely needs — and a straight answer about which rooms will never show the difference.
Drywall Finishing in Madison, WI
Madison Elite Drywall is your local resource for drywall finishing throughout Madison and Dane County. We work with experienced drywall professionals who take hung board to a paint-ready surface at the level a room actually calls for.
Finishing is about the result rather than the technique: how flat a surface reads, how it behaves in the light it will live in, and whether paint sits on it evenly. The trade describes that result in levels, defined in GA-214 — the standard the Gypsum Association publishes with the wall and ceiling, painting and drywall finishing bodies. They run from Level 0, no finishing at all, to Level 5, a skim coat over the entire surface.
Choosing among them comes down to two questions, and only two: what sheen is the paint, and where does the light come from. Flat paint in a diffusely lit hallway forgives a great deal. Semi-gloss on a long wall with a west-facing window at one end forgives nothing. Anyone quoting a level without asking both is picking one for you, and it will be the one that is easiest to deliver.
This page covers the outcome and how to choose it. The hands-on craft that produces it — bedding tape, setting bead, selecting compound, feathering, coat schedules — lives on the drywall taping and mudding page.
What’s Included in a Madison Drywall Finishing Quote
- Level agreed room by room before work starts, against paint sheen and window position
- Hung board corrected first — proud fasteners, torn paper, gaps too wide for tape
- Coats applied on a real drying schedule rather than compressed into a day
- Level 5 skim applied across whole surfaces where specified, not just over joints
- Sanding taken flush without cutting into the face paper
- Every surface walked under a low, close work light before it is called finished
- Delivered level written down, so the painter knows what they are covering
- Surface dusted down and left ready for primer
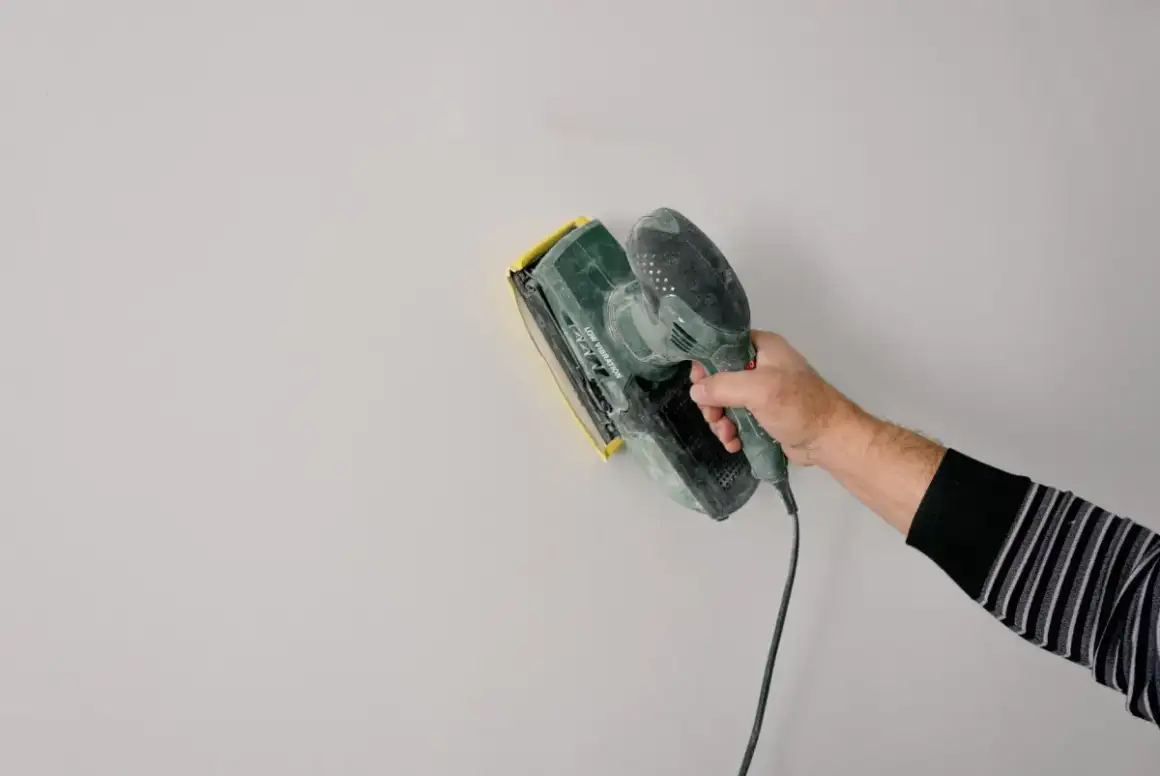
Professional Drywall Finishing in Madison, WI
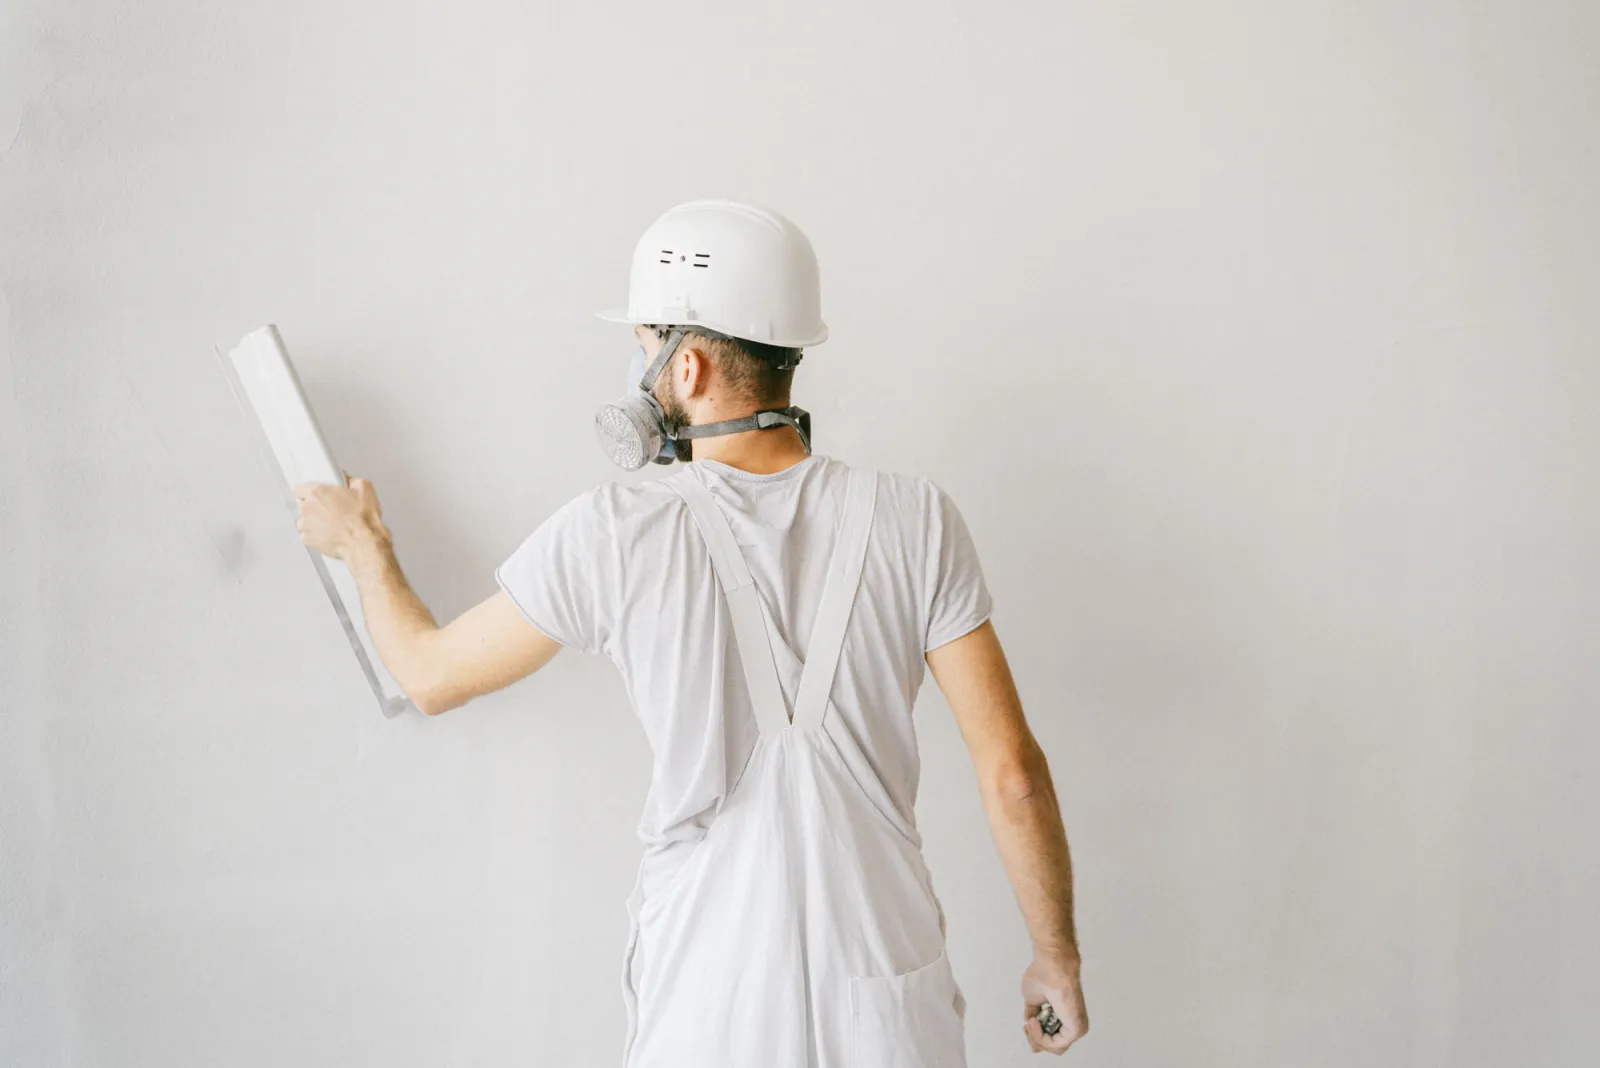
Level 3 Drywall Finish
Tape embedded plus two coats over seams and fasteners, and nothing beyond that. GA-214 defines it as the substrate for heavy texture or heavy wall coverings — it is not meant to take flat paint directly, and using it that way disappoints reliably. In practice this is where a knockdown or orange peel finish is going over the top and the texture is doing the concealing. Specifying Level 3 and then deciding to paint it flat is a change of scope rather than a change of mind, and it costs more to correct afterward than to specify correctly at the start.
Level 4 Drywall Finish
Tape plus three coats, feathered out across the surrounding board. This is the residential standard and the correct answer for most rooms taking flat or eggshell paint or a light texture. Across Dane County's newer housing it is what the overwhelming majority of bedrooms, hallways and living rooms have, and correctly so. Its boundary is sheen and light: put semi-gloss on a Level 4 wall that a window rakes across and the seams appear as faint bands, even though the work met the specification exactly.
Level 5 Drywall Finish
Level 4 plus a skim coat over the entire surface rather than just the joints. The purpose is uniformity, not smoothness — it equalises porosity between compounded areas and bare paper facing so paint dries at the same rate everywhere and no seam pattern telegraphs through. GA-214 names it for gloss and semi-gloss paints, dark colors, and severe or critical lighting. It costs meaningfully more because it is a full additional surface operation, and in the right room it is the only thing that produces the result people have in mind.
Choosing the Right Drywall Finish Level
Sheen and light, in that order. Flat paint plus diffuse light means Level 4 is comfortably enough. Any gloss, a dark saturated color, a long wall with a window at one end, or a hallway with sconces washing down it all push toward Level 5. Deciding room by room is normal and sensible — a Level 5 great room with Level 4 bedrooms is a common and rational specification, and it puts money where light will actually reveal it rather than spreading it evenly across a house that will never show the difference.
Paint-Ready Drywall Surfaces
Sanded to the agreed level, free of ridges, scratches and fastener shadows, dust removed, primed or ready for primer. Primer is not optional at any level: bare compound and paper facing absorb paint at different rates, and skipping it produces flashing — visible sheen differences following the seam pattern — even on a correctly executed Level 5. The final check is a work light held close to the wall at a low angle, because that is the condition that finds what ordinary room lighting hides.
Signs You Need Drywall Finishing
- Board is hung and taped and the room needs bringing to a paint-ready surface
- A painter has flagged that the surface will not carry the specified sheen
- Seams or fastener rows show through existing paint under certain light
- A gloss or dark color is planned on walls that have only ever been Level 4
- New and existing surfaces meet and need to read as one plane
- Project documents name a finish level the current surface does not meet
How Drywall Finishing Works
- 1
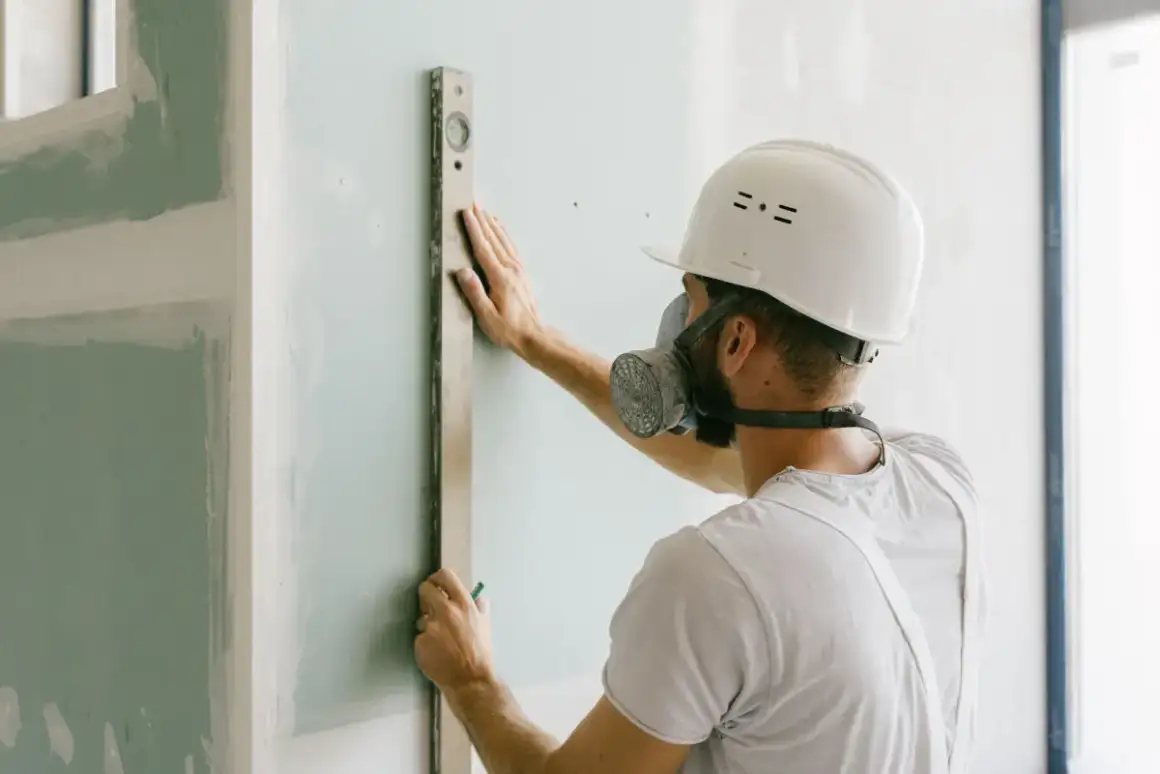
Stand in the Room and Set the Level
The specification is decided in the actual room rather than from a plan. Where are the windows, and what time of day does light come across the wall. Is there a sconce or cove light that will wash down a surface. What sheen is the paint, and is the color dark enough to show variation in absorption. Long uninterrupted walls get more scrutiny than broken-up ones, simply because there is more surface for the eye to travel. The output is a level per room rather than one number for the house, and it goes in writing — so the painter knows what they are covering and there is no argument later about what was bought.
- 2
Fix the Board Before Coating It
Hung board is walked and corrected first. Fastener heads sitting proud get driven below the surface; heads driven too deep, which have torn the paper and lost their grip, get a fresh fastener alongside. Damaged corners, crushed edges and gouges in the face paper are repaired now, because compound over torn paper bubbles. Joints with gaps wide enough to need filling get setting compound rather than being bridged by tape alone. This stage is unglamorous and it is where a mediocre finish is usually decided — no amount of skill in the coating stages rescues a surface that was not made ready first.
- 3
Build the Coats the Level Requires
Coats go on and each dries fully before the next. Level 3 stops after two over the joints and fasteners. Level 4 takes a third, feathered wider. Level 5 adds a skim across the entire surface once joint work is complete, applied thin and uniform to equalise absorption rather than to add thickness. Drying between coats is not negotiable and is most of the calendar — compound applied over material still holding moisture shrinks unevenly, and the resulting depression appears weeks later once paint is on and the room is furnished. Madison summers make this slower than national estimates assume.
- 4
Sand, Then Walk It Under a Raking Light
Sanding brings built-up compound flush with the surrounding board without cutting into the face paper — that balance is what the whole stage turns on, since oversanding exposes and roughens paper and creates a fuzzy area that shows through paint as clearly as a ridge. The finished surface is then checked with a work light held close and low, deliberately creating the grazing condition that reveals ridges, dishes and sanding scratches. Finding them at this point is the entire purpose. Anything the light picks up gets another pass rather than a coat of primer over the top.
What Does Drywall Finishing Cost in Madison, WI?
- The finish level itself, since Level 5 is a full extra surface operation over Level 4
- Total square footage and how much is uninterrupted wall
- Ceiling height and whether staging is needed
- Ceiling work, which is slower than wall finishing
- Condition of the hung board and how much correction it needs
- Whether new work has to blend into existing finished surfaces
| Service | Cost Per Sq. Ft. | Typical Job |
|---|---|---|
| New Drywall Installation | $1.50 – $3.00 per sq. ft. | $1,000 – $3,254 per project |
| Small Patch or Hole | $75 – $350 per patch | $300 – $500 for a contractor visit |
| Larger Wall Repair | $500 – $800+ per patch | Scales with how much board comes out |
| Ceiling Repair | $297 – $472 per hole | $220 – $1,300 for the full ceiling |
| Water-Damaged Drywall | $500 – $2,500+ | Depends how far the moisture travelled |
| Texture Matching | $150 – $450 per patch | Runs 30 – 40% above a smooth finish |
Based on 2026 national cost-guide data from Angi, HomeGuide, and Homewyse. Madison and Dane County rates land above or below these ranges depending on ceiling height, access, texture type, and how much board has to come out before new board goes back. Texture matching is the row that moves most often here, since so much of the local housing stock already has a sprayed finish to match into. You get a firm number after someone sees the job.
Finishing is usually bundled into per-square-foot installation pricing, which is exactly why the level upgrade is easy to miss when comparing quotes. Level 5 is not a marginally better Level 4 — it is an additional full-surface application of compound plus the sanding that follows. The corollary matters as much: paying for Level 5 in a room with diffuse light and flat paint buys something genuinely invisible. The money belongs on the great room with the west-facing window rather than spread evenly through the house.
What to Look for in a Madison Drywall Finishing Contractor
The First Two Questions Are Sheen and Windows
Those determine the correct level. A quote produced without either has chosen a level on your behalf, and it will be whichever is easiest to deliver.
The Level Appears in Writing
Level 3, 4 and 5 mean specific things under GA-214. A quote saying finished and paint-ready without naming a level is unmeasurable, and unmeasurable is not a standard.
They Inspect Under a Hand Light in Front of You
A wall checked under room lighting has not really been checked. Holding a work light close and low is the standard, and doing it in your presence signals confidence in the surface.
They Talk You Out of Level 5 Where It Would Not Show
An interior hallway with flat paint gains nothing from a skim coat. A contractor who says so is worth considerably more than one who upgrades every room by default.
Residential & Commercial Drywall Finishing
Residential
Residential finishing in Madison is usually a mix within one house: Level 4 through bedrooms and hallways, Level 5 in the room with the large window or wherever satin or semi-gloss is planned. Deciding room by room rather than house-wide is both cheaper and better, because it puts the cost where light will actually reveal the difference.
Commercial
Commercial finishing follows what the project documents specify rather than what looks acceptable on site. Offices, clinics and retail typically specify Level 4 in general areas and Level 5 in lobbies, conference rooms and anywhere with feature lighting. Where a level is written in, it gets delivered as written and confirmed in writing for the record.
When Drywall Finishing Isn’t the Right Call
- A single patched area you plan to touch up yourself with flat paint. That does not need a finishing specification.
- Board that has not been hung, or hung to bowed framing. Finishing cannot correct a wall fastened out of plane — that is fixed at hanging or not at all.
- Textured walls where the texture is staying. If a sprayed finish is going over the top, Level 3 is the right substrate and paying for more is money the texture will hide.
- Rooms where you want Level 5 everywhere as a general upgrade, with no gloss paint and no raking light. You are unlikely to see what you bought.
- Addresses outside Madison and Dane County.
Frequently Asked Questions
- What is the difference between a Level 4 and a Level 5 finish?
- Level 4 is tape plus three coats over seams and fasteners, feathered out. Level 5 adds a skim coat across the entire surface on top of that. The point of the skim is uniformity rather than smoothness — it makes compounded areas and bare paper absorb paint at the same rate so no seam pattern shows through. GA-214 calls for Level 5 under gloss and semi-gloss, dark colors, and severe lighting.
- Do I actually need Level 5?
- In most rooms, honestly no. Flat or eggshell paint without a strong directional light source looks correct at Level 4. Level 5 earns its cost on long walls with a window at one end, under gloss or semi-gloss, with dark saturated colors, and where a light washes down a surface. A contractor recommending it for every room in the house is not diagnosing anything.
- Can an existing wall be upgraded to Level 5?
- Yes, and skim coating an existing finished wall is common. It is often the right answer for a tired surface that is structurally fine, costing considerably less than tearing out and reboarding while producing a genuinely flat result. The existing paint needs to be sound and properly prepared, since a skim coat over a poorly adhered surface inherits that surface's problems.
- Why are seams showing through my paint?
- Usually one of three causes. The finish level was below what the paint sheen required, which is most common. Or the surface was not primed, so compound and paper absorbed paint differently and left bands. Or the compound had not dried through before sanding and painting, and shrank afterward. A skim coat plus proper priming resolves the first two.
- What is Level 3 actually for?
- As a substrate for heavy texture or heavy wall coverings, which is how GA-214 defines it. If knockdown or orange peel is going on, the texture conceals the surface and paying for Level 4 underneath buys nothing. It is not intended to take flat paint — so if plans change from textured to painted, the surface has to come up to Level 4 first.
- How long does finishing take?
- Three to five days for a single room at Level 4, and most of that is drying rather than working. Level 5 adds at least another coat-and-dry cycle plus a full-surface sanding pass. Anyone offering to tape, coat and sand a room within a day is describing a surface that will shrink and crack once paint is on it — and Madison's summer humidity makes that outcome more likely, not less.
Learn More
- Gypsum Association GA-214 — the standard defining Levels 0 through 5, published with AWCI, CISCA, PDCA and the Drywall Finishing Council
- Association of the Wall and Ceiling Industry — the trade body that co-authors the levels-of-finish document
- Painting and Decorating Contractors of America — the painting trade body that co-authors GA-214 and takes over at primer
Need Drywall Finishing in Madison, WI?
Tell us what’s going on and get an on-site estimate — no charge for the visit, and no obligation to book the work.
Get My Free Estimate