Drywall Taping & Mudding in Madison, WI — Residential & Commercial Taping and Mudding Specialists
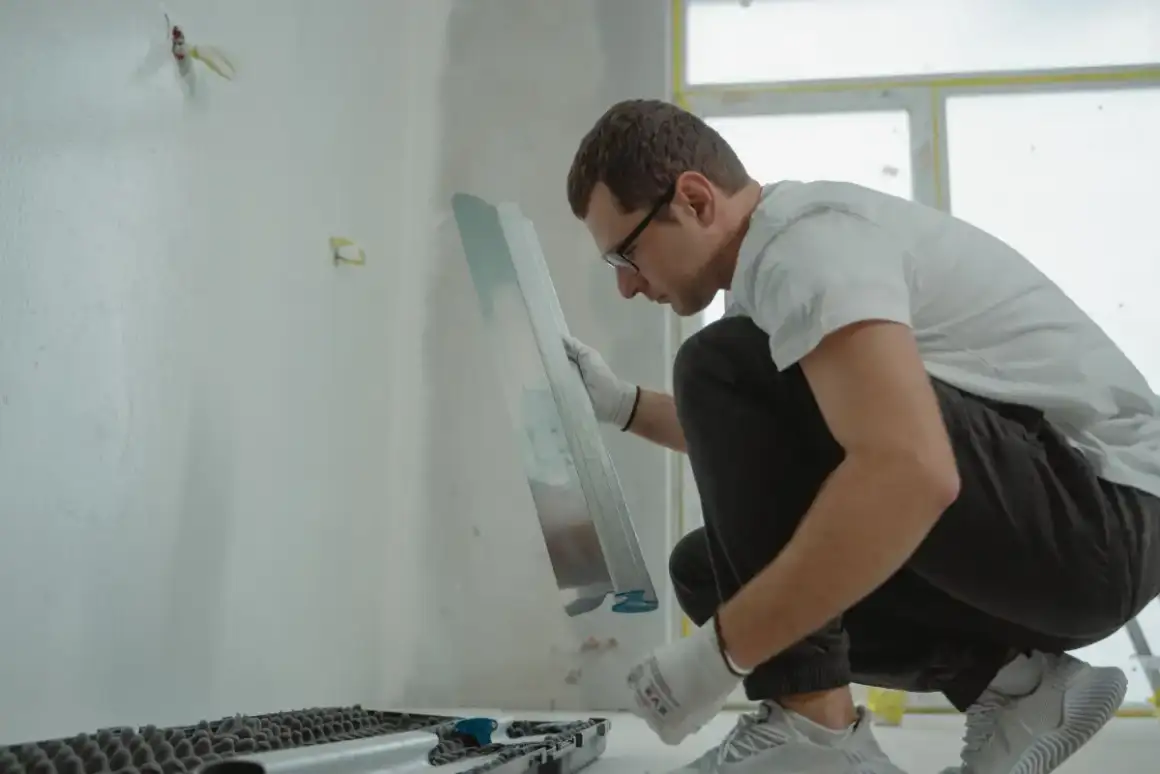
The hands-on stage between hung board and a finished wall across Madison and Dane County: tape bedded into wet compound, bead set true, coats feathered wider each pass, then sanded flat.
Drywall Taping & Mudding in Madison, WI
Madison Elite Drywall is your local resource for drywall taping and mudding throughout Madison and Dane County. We work with experienced drywall professionals who bed tape, set bead and build compound coats properly.
Taping and mudding turns a room of separate panels into one continuous surface. Tape bridges each joint so two boards behave as one, and compound — mud, on site — builds over the tape and the fastener heads in coats, each feathered wider than the last, until the buildup cannot be found by eye or by hand.
It is the least visible skill in the trade and the one that determines how a wall looks for twenty years. Board hung perfectly and taped badly cracks along its seams. Board hung imperfectly and taped well produces a wall nobody questions. Almost every failure traces to the same cause: someone attempting in one thick coat what only works in three thin ones.
In Dane County there is a specific reason to care about this. Clay soils and a four-foot frost line put a slow seasonal cycle into buildings, and a taped joint is what decides whether that movement produces a hairline crack or nothing visible at all. Tape properly bedded holds a joint together through that. Compound alone does not.
What’s Included in a Madison Drywall Taping & Mudding Quote
- Compound chosen by stage — taping mud where adhesion matters, topping where sanding does
- Setting-type compound used where the schedule genuinely needs a cure rather than a dry
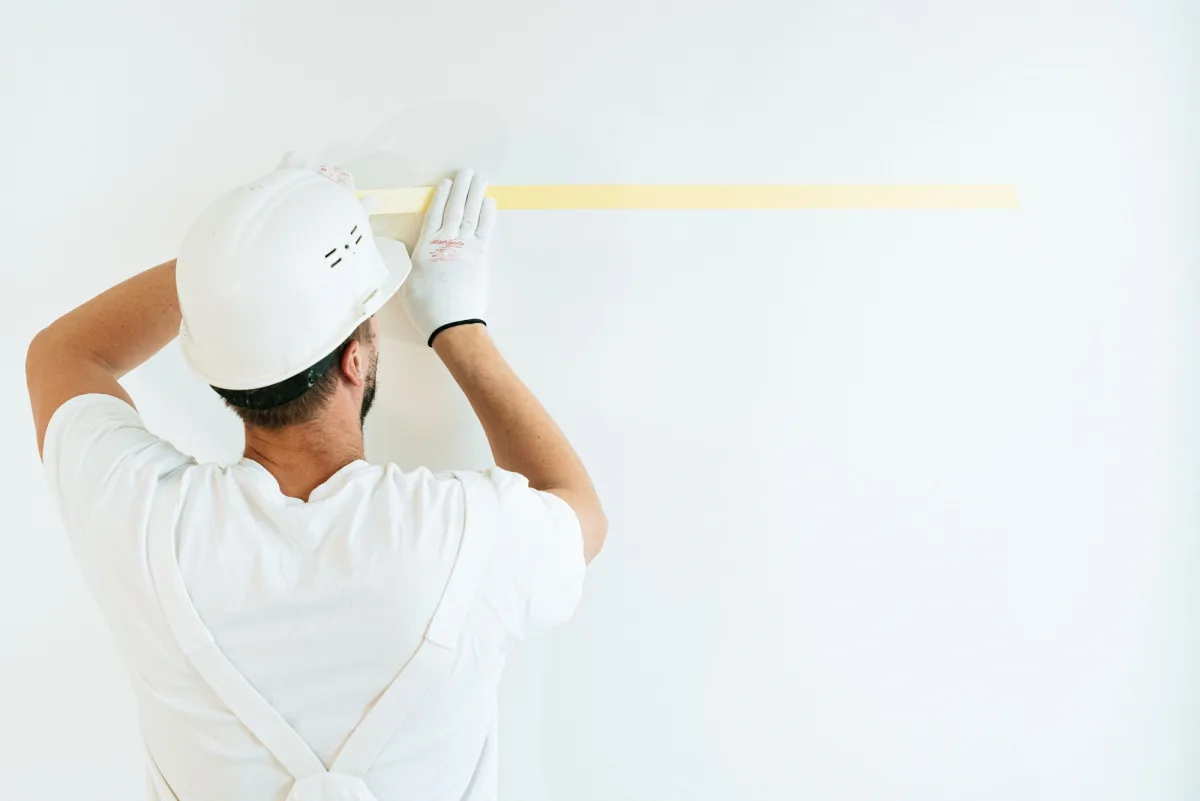
- Tape bedded into a wet coat on every joint, excess worked out from behind it
- Corner bead fastened and sighted straight before compound buries it
- Inside corners taped square, one plane at a time to avoid a ridge in the angle
- Fastener heads coated on the same schedule as the seams, typically three passes
- Butt joints feathered widest of all, since they have no tapered recess
- Final sanding checked under a raking light, then dust removed before primer
Drywall Taping & Mudding in Madison, WI
Drywall Joint Taping
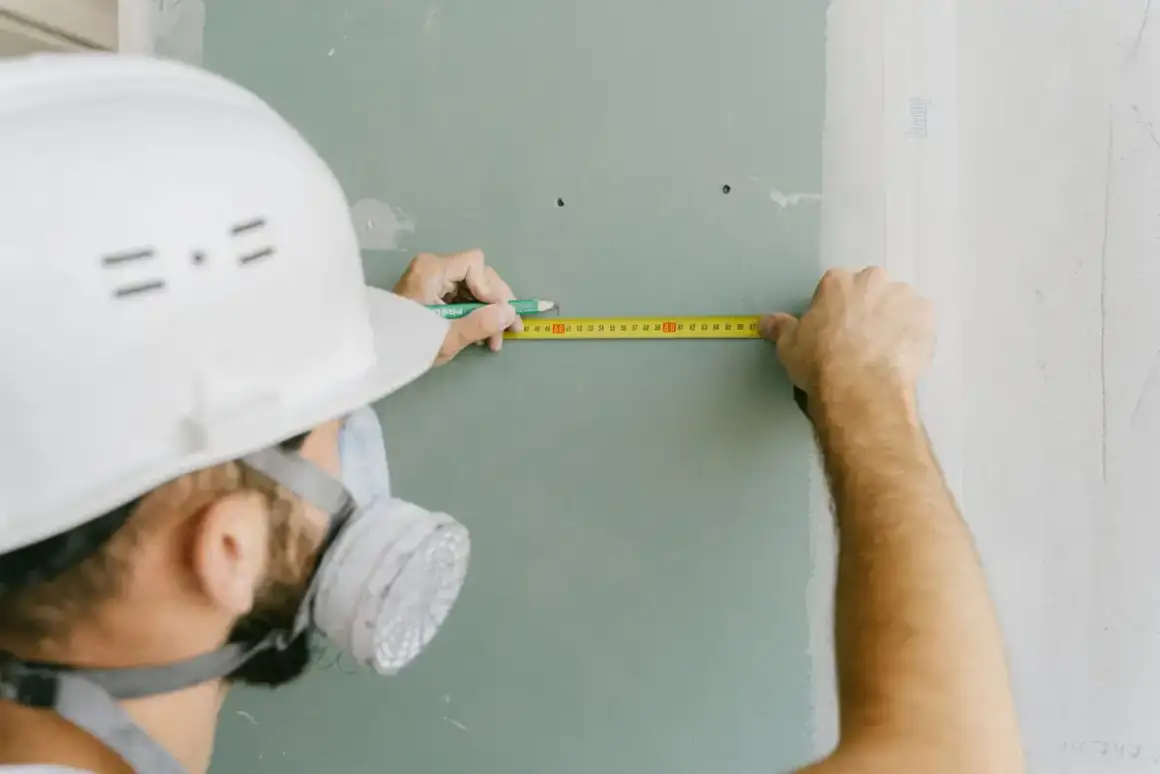
The structural half. Tape is bedded into a wet coat over every seam so the joint is bridged and two panels behave as one — without it, compound has nothing holding the joint and the seam cracks the first time the framing moves, which in this climate is the first heating season. Paper tape is stronger and is the default on flat seams and inside corners; self-adhesive mesh has a place on flat butt joints but not in an angle. The detail that matters is squeezing excess compound out from behind the tape as it beds, since compound trapped underneath dries unevenly and telegraphs as a raised line.
Drywall Mudding & Joint Compound Application
Compound is not one product, and using the wrong type is an error rather than a preference. Taping compound is toughest with the most adhesion, which is what bedding tape and filling fasteners require. All-purpose works at any stage. Topping is light, shrinks least and sands most easily — and belongs on final coats only, because it lacks the adhesion to embed tape and using it for a first coat is how a seam fails. Setting-type compound, hot mud on site, cures chemically rather than drying, which is what turns a four-day sequence into three.
Inside & Outside Corner Finishing
Corners are the hardest part of taping and where damage concentrates. Outside corners take bead — metal, vinyl or paper-faced — fastened and sighted for straightness before any compound, because a bead set crooked cannot be corrected once buried without cutting it off. Inside corners are taped with paper folded to the angle, and the skill is coating each plane without building a ridge in the corner itself, which normally means doing one side, letting it dry, then the other. Rushing both sides wet is the standard cause of a corner that reads thick and rounded rather than crisp.
Feathering & Multi-Coat Buildup
Each coat spreads wider than the one before it, so compound thins to nothing across the surrounding board rather than stopping at an edge. That is what makes a joint disappear: a seam is about an inch wide, but by the third coat the compound may span sixteen inches or more and the transition is too gradual for the eye to locate. Butt joints need the widest feathering of anything on a wall — often two feet or more — because two factory-cut ends meet with no tapered recess, so the buildup necessarily sits proud of the board around it.
Final Sanding & Surface Preparation
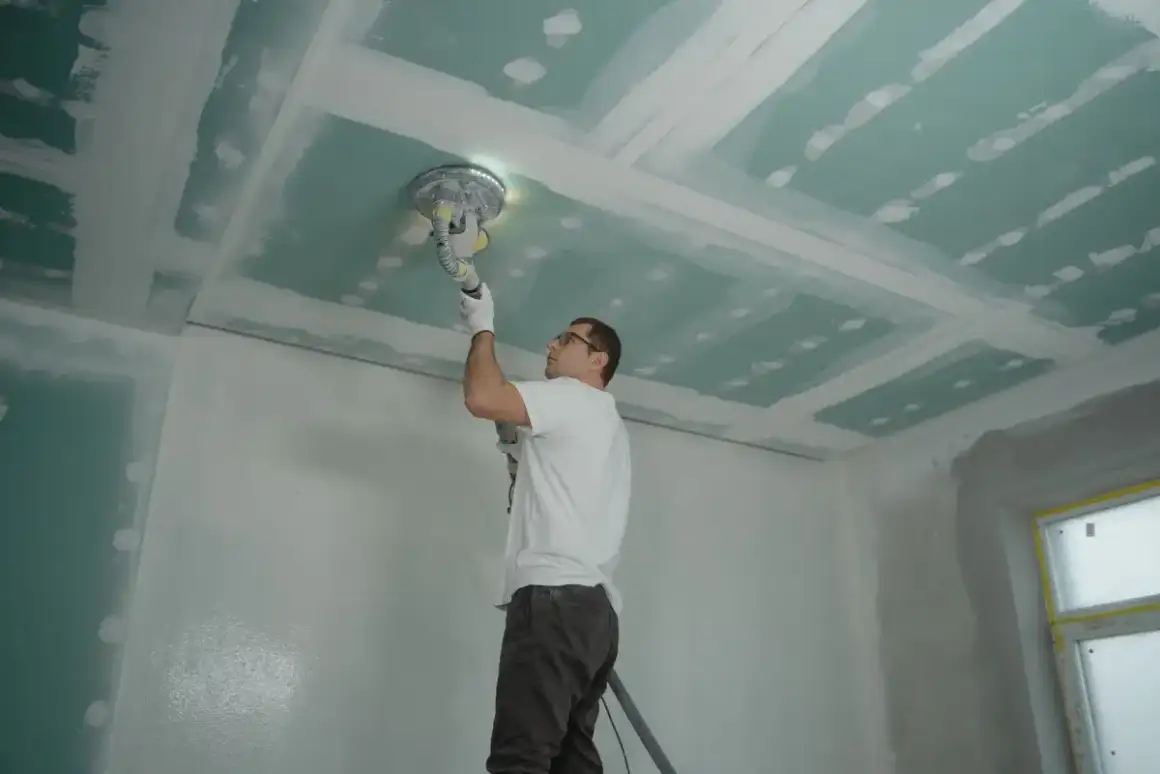
Sanding brings the buildup flush without cutting into the board's face paper, which is the balance the stage depends on. Cut through and the exposed paper fuzzes, drinks paint differently and shows through the finish as clearly as any ridge. Pole sanders handle flat runs, hand sponges do corners, vacuum-attached power sanders control dust on larger jobs. The surface is then checked with a work light held low and close — the raking condition that finds ridges and scratches ordinary lighting hides — and dusted down thoroughly, because primer over sanding dust bonds to dust rather than to the wall.
Signs You Need Drywall Taping & Mudding
- Board is hung and the joints need bedding and coating
- Existing seams are cracking along their length rather than at a corner
- Outside corners are chipped or the bead is showing through the paint
- An inside corner reads thick and rounded rather than crisp
- Butt joints show as a broad hump under raking light
- A previous taping job is showing tool marks or ridges through the finish
How Drywall Taping & Mudding Works
- 1
Correct the Board and Sight the Bead
Before any compound, the hung board gets walked. Proud fastener heads are driven below the surface; over-driven ones that have torn through the paper have lost their grip and get a fresh fastener alongside. Gaps wider than about a quarter inch are pre-filled with setting compound rather than bridged by tape, since tape spanning open air has nothing behind it. Corner bead is fastened to every outside corner and sighted down its length. This is the last moment a crooked bead is cheap — once buried in compound, correcting it means cutting it out and starting the corner over.
- 2
Bed the Tape Into a Wet Coat
A bed coat of taping or all-purpose compound goes onto every joint and tape is pressed into it while still wet. The knife then draws down the tape, squeezing excess out from underneath and leaving the tape flat with a thin film beneath it. Too much compound left behind dries unevenly and shows as a raised line; too little and the tape has nothing bonding it, so it blisters or lifts later. Inside corners take paper folded along its crease. Fastener heads get their first pass at the same time, keeping the whole surface on one drying schedule.
- 3
Build Fill and Finish Coats, and Wait Between Them
Once the bed coat is dry, a fill coat goes on wider, then a finish coat wider still, each feathered so compound tapers to nothing rather than ending at a ridge. Topping or all-purpose is used for the later passes because they sand more easily and shrink less. Inside corners are done one plane at a time with a dry cycle between, which avoids a ridge in the angle. Drying between coats is genuinely not compressible, and a humid Dane County summer extends it well beyond what a national estimate assumes. Where the schedule is tight, setting-type compound is the legitimate answer since it cures rather than waiting on evaporation.
- 4
Sand Flush, Inspect, and Dust Down
Built-up compound is sanded flush with the board face — flush, not below, since cutting into the paper creates a fuzzy patch that shows through paint. Flat runs go with a pole sander, corners by hand, and a vacuum-attached sander keeps larger areas manageable. Then a work light is held close and low and walked along the wall, which reveals ridges, dishes, tool marks and sanding scratches that ordinary lighting conceals. Anything the light finds gets another thin coat rather than being primed over. Finally the surface is dusted down, because primer applied over sanding dust bonds to the dust.
What Does Drywall Taping & Mudding Cost in Madison, WI?
- Linear feet of seam and corner rather than wall area — broken-up rooms carry more joint per square foot
- Number of butt joints, which need the widest feathering and the most compound
- Number of outside corners requiring bead
- Ceiling height and whether staging is needed
- Ceiling work, which is slower and more physically demanding
- Whether setting-type compound is required to compress the schedule
- Condition of the hung board and how much correction it needs first
| Service | Cost Per Sq. Ft. | Typical Job |
|---|---|---|
| New Drywall Installation | $1.50 – $3.00 per sq. ft. | $1,000 – $3,254 per project |
| Small Patch or Hole | $75 – $350 per patch | $300 – $500 for a contractor visit |
| Larger Wall Repair | $500 – $800+ per patch | Scales with how much board comes out |
| Ceiling Repair | $297 – $472 per hole | $220 – $1,300 for the full ceiling |
| Water-Damaged Drywall | $500 – $2,500+ | Depends how far the moisture travelled |
| Texture Matching | $150 – $450 per patch | Runs 30 – 40% above a smooth finish |
Based on 2026 national cost-guide data from Angi, HomeGuide, and Homewyse. Madison and Dane County rates land above or below these ranges depending on ceiling height, access, texture type, and how much board has to come out before new board goes back. Texture matching is the row that moves most often here, since so much of the local housing stock already has a sprayed finish to match into. You get a firm number after someone sees the job.
Taping and mudding is normally priced inside a per-square-foot installation figure, which hides that it is most of the labor on a drywall job — materials are a small share and the coating stages are the bulk of the hours. The variable that moves most is joint length rather than area. A small bathroom broken up by a window, a door and a corner carries far more seam per square foot than a large open wall, which is why a small room can price higher per square foot than a big one.
What to Look for in a Madison Drywall Taping Contractor
There Is More Than One Bucket on the Truck
Taping mud where adhesion matters, topping where sanding does. A crew running all-purpose from bedding through finish is choosing convenience over the wall, and topping used to bed tape is a straightforward error.
The Schedule Has Real Dry Cycles In It
Three coats need three dry cycles, and a humid Wisconsin summer lengthens each one. A quote showing a room taped, coated and sanded the same day is describing a wall that will shrink and crack.
They Sight the Bead Before Coating It
A bead set crooked is buried by the first coat and expensive from then on. Checking takes seconds and reliably indicates someone who has had to fix one.
The Final Inspection Uses a Hand Light
Room lighting hides ridges and tool marks that a low, close work light finds instantly. If that check happens, the surface has genuinely been inspected.
Residential & Commercial Drywall Taping & Mudding
Residential
Residential taping happens in rooms broken up by windows, doors and corners, which means more joint and more corner work per square foot than an open commercial space. It also happens in occupied houses, so sanding needs containment — drywall dust is fine enough to travel a whole home and settle in rooms nobody worked in.
Commercial
Commercial taping runs longer, straighter seams and more repetitive corner work, usually against a finish level named in the project documents and a date already committed to. Setting-type compound sees more use here for that reason, since it cures on a schedule rather than waiting on ambient conditions.
When Drywall Taping & Mudding Isn’t the Right Call
- A single small patch you plan to touch up yourself. A tub of all-purpose and a four-inch knife will handle it.
- Deciding what finish level your rooms need. That is the finishing conversation and belongs on the drywall finishing page — this is the work that delivers whichever level you choose.
- Board that has not been hung, or hung to bowed framing. Taping cannot flatten a wall fastened out of plane.
- Plaster walls. Plaster skim work is a related craft with different materials and a different failure mode — see the plaster repair page.
- Addresses outside Madison and Dane County.
Frequently Asked Questions
- How many coats of mud does drywall need?
- Three for a standard wall: a bed coat embedding the tape, a fill coat, and a finish coat, each feathered wider than the last. Fastener heads get the same three passes. A Level 5 finish adds a full skim over the entire surface on top. Fewer than three means either a lower finish level than most rooms need, or corners being cut somewhere.
- What is the difference between all-purpose, topping and setting compound?
- All-purpose works at any stage and is the general-use product. Taping compound is tougher with more adhesion, which is what bedding tape and filling fasteners want. Topping is lighter, shrinks less and sands more easily — final coats only, because it lacks the adhesion to embed tape. Setting compound, or hot mud, hardens chemically rather than by drying, so it does not wait on evaporation and can shorten a job by a day.
- Paper tape or mesh tape?
- Paper is stronger and is the default, and it is the only correct choice for inside corners because it folds to a crease and holds the angle. Mesh is self-adhesive and faster on flat butt joints, and it has a real place there — but it needs setting-type compound over it rather than standard drying compound to reach comparable strength. Mesh in an inside corner is a common shortcut and a common source of corner cracks.
- Why can I see the seams and screw lines in my wall?
- Most often the coats were not feathered wide enough, leaving a detectable edge where compound stops. It can also be compound sanded before it fully dried and then shrinking, or a surface painted without primer so compound and paper absorbed paint differently. Butt joints show most, because they have no tapered recess and need the widest feathering of anything on the wall.
- How long between coats?
- Until the compound is dry through, not dry on the surface — commonly overnight for standard drying compound, and longer in a humid Madison summer or a room with poor air movement. Coating over material still holding moisture is the most common cause of seams appearing as depressions weeks after painting. Setting-type compound is the legitimate way to shorten this, since it cures rather than dries.
- Can I skip tape and just fill the joints?
- No, and it is worth being blunt. Tape is what bridges the joint and holds two panels together as one surface. Compound has no tensile strength on its own, so a filled but untaped seam cracks along its whole length the first time the framing moves — which in Dane County, with clay soils and a four-foot frost line, is reliably the first winter. Every seam gets taped.
Learn More
- Gypsum Association GA-214 — how many coats and how much sanding each finish level requires
- Association of the Wall and Ceiling Industry — the trade association covering wall and ceiling finishing practice
- US EPA — Mold Course, Moisture and Building Materials — why compound has to dry through between coats rather than be coated over damp
Need Drywall Taping & Mudding in Madison, WI?
Tell us what’s going on and get an on-site estimate — no charge for the visit, and no obligation to book the work.
Get My Free Estimate